
How to Create a Post
There are many ways to go about creating a post. This is one direct method.
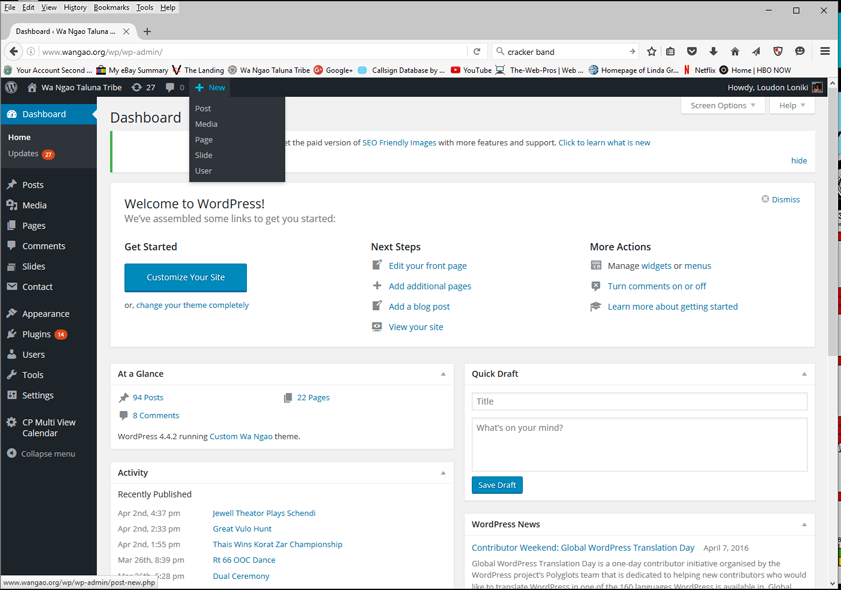
Step 1
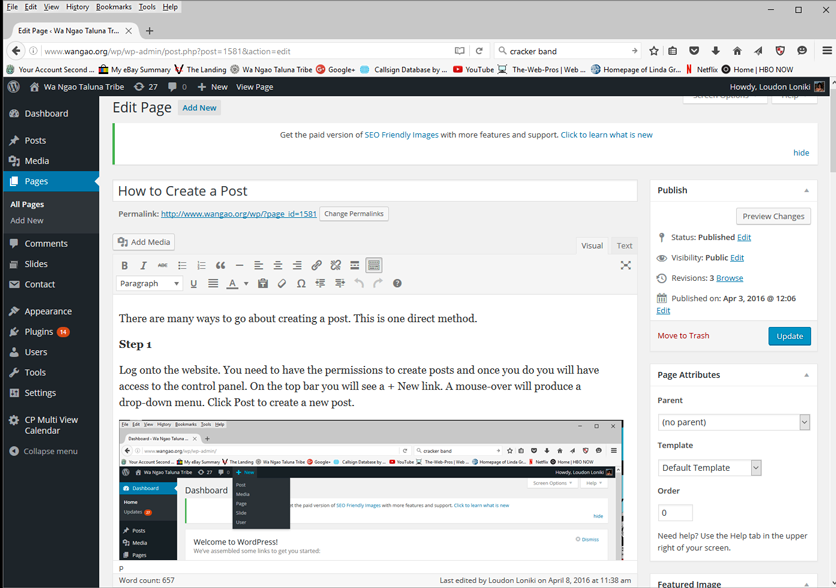
Log onto the website. You need to have the permissions to create posts and once you do you will have access to the control panel. On the top bar you will see a + New link. A mouse-over will produce a drop-down menu. Click Post to create a new post.
Step 2
An editor should be opened at this point and on the top it says “Enter title here”. Enter the title of your new post.
Step 3
Below the title to the right is your editor selection tab. The choices are “Visual” or “Text” and they both behave very differently. The visual editor displays what the post will look like and the text editor allows more options and the ability to enter HTML code.
If you do not know HTML it is likely better you stay with the “Visual” editor.
Step 4
You are ready to write your post. The tool bar allows you many of the general options but you can also write your post in your favorite text program like “Word” and then copy and paste it here. In the “Visual” editor it should keep your formatting.
Step 5
Along with writing your post you have the option to “Add Media”, the button above the toolbar. The media will appear where your cursor is located. When you click the Add Media Button the Media Library opens and you have the option to pick an image from there or you can simply drop a new picture right on that window.
Once an image is selected the right sidebar gives you options for that picture like adding a caption, alignment and size. Keep the size large unless you are working with an image you want to be small. Otherwise the website is likely setup to automatically size the image to fit on the page correctly. If this is not the case contact the webmaster.
Click the Insert into post button.
Step 6
The right sidebar has many of the options you will need to set to your post like Save, Preview, and most importantly “Publish”. You will also choose what category your post best fits into.
Step 7
Usually the first paragraph of your post gives a general description of what the post pertains to. Copy and paste it to the Excerpt field. The excerpt is used in the blog index.
You can also edit this to add anything else important but keep it to one paragraph or it defeats the purpose of a post summary.
Step 8
On the bottom of the right column is the “featured Image”. This is the same as adding media and will likely be an image from the post. The featured image is used along with the excerpt on the post summary page.
Step 9
When it all looks good hit the “Publish” button. You will have ways to look at the post like the “View Post” button next to that + New key. This will take you to the actual post while still in the control panel. That “View Post” button changes into a “Edit Post” button when you click it and allows you to go back into edit mode on the post.
Step 10
Proof read your new post and check to see if categories are set and if images look correct. Toggle between the “Edit Post” and “View Post” till it all looks good. Don’t forget to hit the “Publish” button any time you make changes or they won’t go into effect.
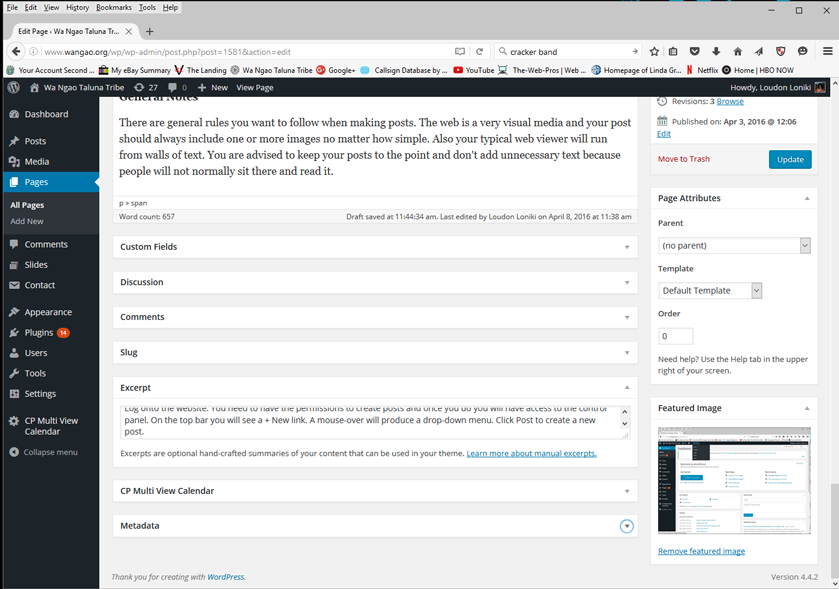
General Notes
There are general rules you want to follow when making posts. The web is a very visual media and your post should always include one or more images no matter how simple. Also your typical web viewer will run from walls of text. You are advised to keep your posts to the point and don’t add unnecessary text because people will not normally sit there and read it.